
Quick Answer
If clothes still look dirty after washing, do not assume the washer is broken or that you need more detergent. First decide whether the problem is one stain or a few items, a whole load, or several loads. Then check the load size, selected cycle, care labels, detergent instructions, and any fill, drain, spin, or error symptoms. A persistent stain may need separate treatment, while repeated poor cleaning with machine symptoms may need manufacturer support.
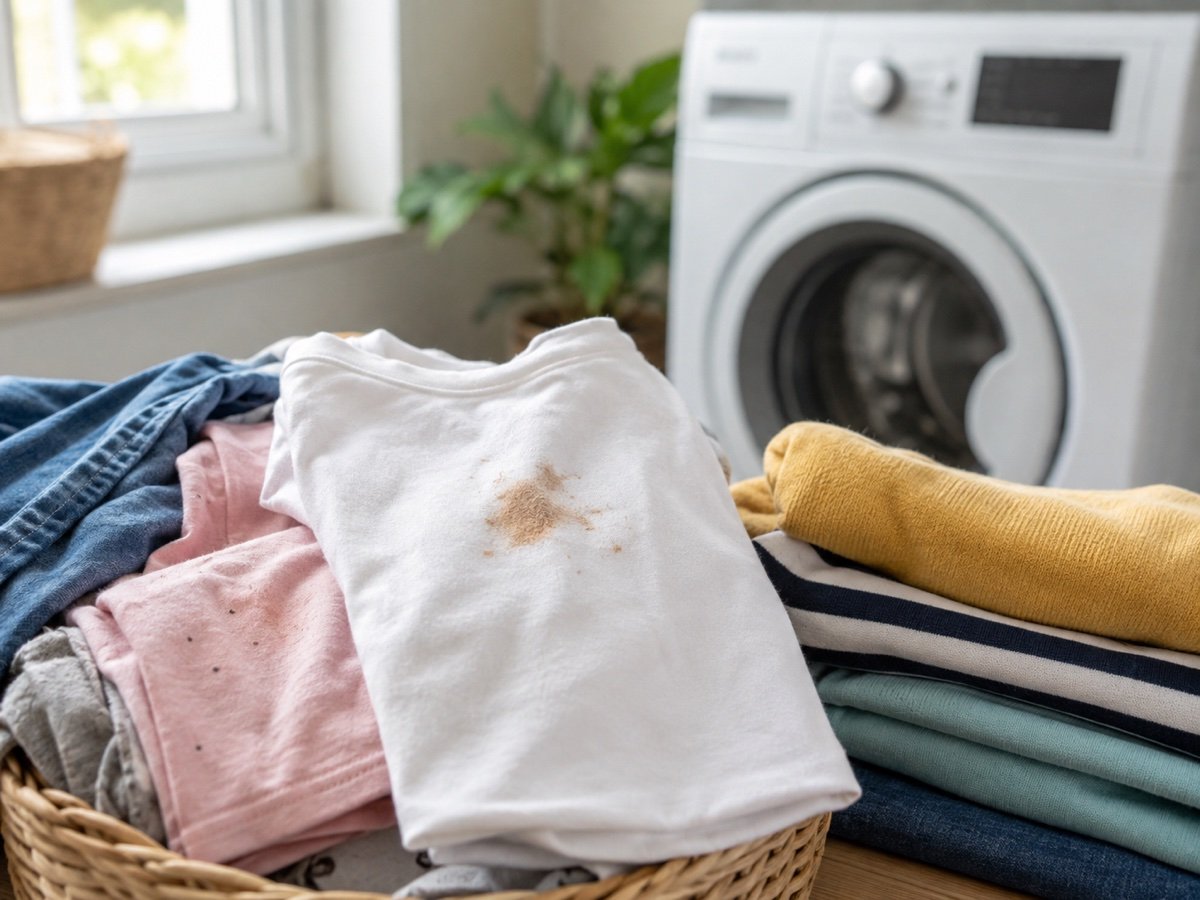
Quick Diagnosis: What kind of problem is it?
The pattern tells you what to check first. It does not prove one cause by itself.
One stain or a few items are still dirty
Check the stain, garment care label, fabric, and whether separate pre-treatment is appropriate.
The whole load looks poorly cleaned
Review load size, loose loading, sorting, cycle/settings, and detergent use.
Clothes were packed tightly
Reduce crowding according to the washer manual and reassess the next load.
The cycle or settings may not match the load
Compare the fabric, soil level, care label, and washer cycle guide.
Detergent was used incorrectly
Check detergent type, amount, concentration, and dispenser instructions. More is not automatically better.
The washer also has fill, drain, spin, or error symptoms
Follow the model’s manual and manufacturer support path instead of treating it as a simple laundry-setting problem.
Persistent stain or general poor cleaning?
These problems can look similar but need different first checks.
A persistent stain
A stain that remains on one garment after a normal cycle is not proof that the washer failed. Older or set-in stains may need care-label-compatible pre-treatment, and some marks may be a fabric or color issue rather than removable soil. Check the garment label and the instructions for any stain product before treating it again. Do not assume that a hotter wash is safe or that another standard cycle will remove every stain.
General poor cleaning across a load
When most of a load looks less clean than expected, review how much laundry was loaded, whether it could move freely, whether the cycle fits the fabrics and soil level, and whether the detergent was used as directed. If the same pattern appears in several unrelated loads, include the dispenser, tub, water-supply, and washer-maintenance branches.
A washer operation symptom
Poor cleaning deserves a different response when the washer also fails to fill, drain, or spin properly, vibrates unusually, shows an error code, or has a recurring water-supply problem. Those symptoms can point to a model-specific appliance issue. The absence of an error code does not prove that the washer is working normally, but it does mean you should not jump straight to internal repair from poor cleaning alone.
Likely Causes to Check
The load was too large or tightly packed
Clothes need enough room to move and, on some models, to become properly submerged or turned over. A crowded or compacted load can reduce the contact between water, detergent, and fabric. Follow the washer’s loading guidance rather than using a universal fill line or fixed percentage.
The cycle or settings did not fit the load
Wash cycles combine different movement, time, spin, rinse, and temperature settings for different fabrics and soil levels. A short or gentle cycle may not suit a heavily soiled load, while a stronger setting may not be safe for every garment. Use the care label and the washer’s cycle guide together.
Detergent type, amount, or dispenser use was off
Use the detergent type and amount recommended for the product, load, and machine. Too much product or excess suds can interfere with rinsing and cleaning in some washer contexts, while the wrong product or a clogged dispenser can keep detergent from being used as intended. Adding more detergent is not a reliable first response.
The item needs separate stain treatment
Some stains need attention before washing, especially when they have dried or settled into the fabric. Treat them only in a way allowed by the garment label and the stain-product instructions. Keep this separate from diagnosing the washer’s overall cleaning performance.
The dispenser or tub needs model-prescribed maintenance
Visible buildup in a dispenser or washer can be relevant when poor results or residue repeat across loads. Inspect only user-accessible areas and follow the exact cleaning routine for that model. Do not assume that every washer has the same filter, tub-clean cycle, cleaner, or schedule.
If “dirty” actually means a pale film, powder, white streak, or lint-like residue, see the white residue troubleshooting guide instead. That is a separate symptom path.
A washer problem is affecting more than cleaning
Repeated poor cleaning together with abnormal filling, draining, spinning, vibration, water supply, or error-code behavior deserves manufacturer support. Do not disassemble the washer or attempt pump, motor, wiring, control-board, or bypass work at home.
What to Do
Work through one supported change at a time when practical.
- Decide whether this is one stain or a whole-load problem. A single persistent mark calls for garment and stain guidance; a load-wide pattern calls for load, cycle, and product checks.
- Check for fill, drain, spin, balance, or error symptoms. If the washer is not completing these basic operations normally, use the model manual or manufacturer support instead of guessing at a laundry fix.
- Check load size and packing. Reduce crowding if clothes cannot move freely or follow the washer’s specific loading guidance.
- Review the cycle and care labels. Match the fabric, soil level, wash temperature, rinse, and spin options to the garment label and washer guide. Do not treat one cycle or temperature as universally best.
- Check detergent instructions and dispenser use. Confirm the product type, concentration, amount, and compartment. Do not add extra detergent automatically.
- Treat persistent stains separately when appropriate. Follow the garment label and stain-product directions, and avoid treatments that may damage or set the mark.
- Follow manufacturer-prescribed washer maintenance. If residue or poor cleaning repeats across loads, clean the visible dispenser or run the model’s prescribed maintenance routine only as directed.
- Reassess after another controlled load. Keep the next load, cycle, and product use as consistent as practical so the result is easier to interpret.
- Escalate when the pattern persists. Contact the manufacturer or qualified service if operational symptoms, error codes, abnormal water behavior, or repeated poor cleaning continue after the appropriate household checks.
If That Didn’t Work
If the clothes are still dirty after a careful rewash, do not respond by repeatedly adding detergent or moving straight to a hotter cycle.
Return to the pattern:
- One item or one stain: recheck the fabric, care label, stain type, and pre-treatment instructions.
- One whole load: review load size, cycle fit, sorting, detergent amount, and dispenser use.
- Several unrelated loads: inspect visible washer areas and follow the model’s maintenance and support guidance.
- Poor cleaning plus fill, drain, spin, vibration, or error symptoms: stop household troubleshooting and contact the manufacturer or service provider.
Do not use vinegar, baking soda, bleach, sanitizer, acids, or a DIY chemical mixture as a default solution. Never mix cleaning products, and do not dismantle the washer.
Prevention
- Sort and load clothes according to the garment label and washer guidance.
- Avoid packing the washer so tightly that items cannot move as intended.
- Choose a cycle and settings that fit the fabric and soil level.
- Measure detergent according to the product, load, and machine instructions.
- Check the dispenser and follow the washer’s prescribed maintenance routine.
- Treat persistent stains according to the garment and stain-product instructions before they become harder to remove.
- When the pattern changes or spreads across loads, reassess the diagnosis instead of repeating the same fix.
For more laundry troubleshooting, see the Laundry troubleshooting hub.
Sources
- Samsung Support — Clothes are not clean after washing in Samsung washing machine — cycle/settings, detergent, pre-treatment, load size, and operational symptoms.
- LG USA Support — Clothing Not Clean Properly — load submersion, cycle selection, persistent stains, product amounts, and model-specific maintenance.
- Maytag Product Help — Not Cleaning Clothing — care labels, cycles, detergent, loading, temperature boundaries, maintenance, and service escalation.