
Quick Answer
A hole found after washing does not automatically mean the washer caused it. A zipper, hook, buckle, pocket item, or fabric caught near the door can snag a garment. Washing can also reveal fabric that was already thin, worn, or product-damaged. A washer problem becomes more plausible when unrelated garments are repeatedly damaged or an accessible rough, broken, or trapping area is visible.
Do not rewash the damaged item to test the cause. Set it aside, inspect the garment and load, then make the safe visible checks below. If you suspect a sharp or broken washer component, stop using the washer for affected loads and seek service guidance.
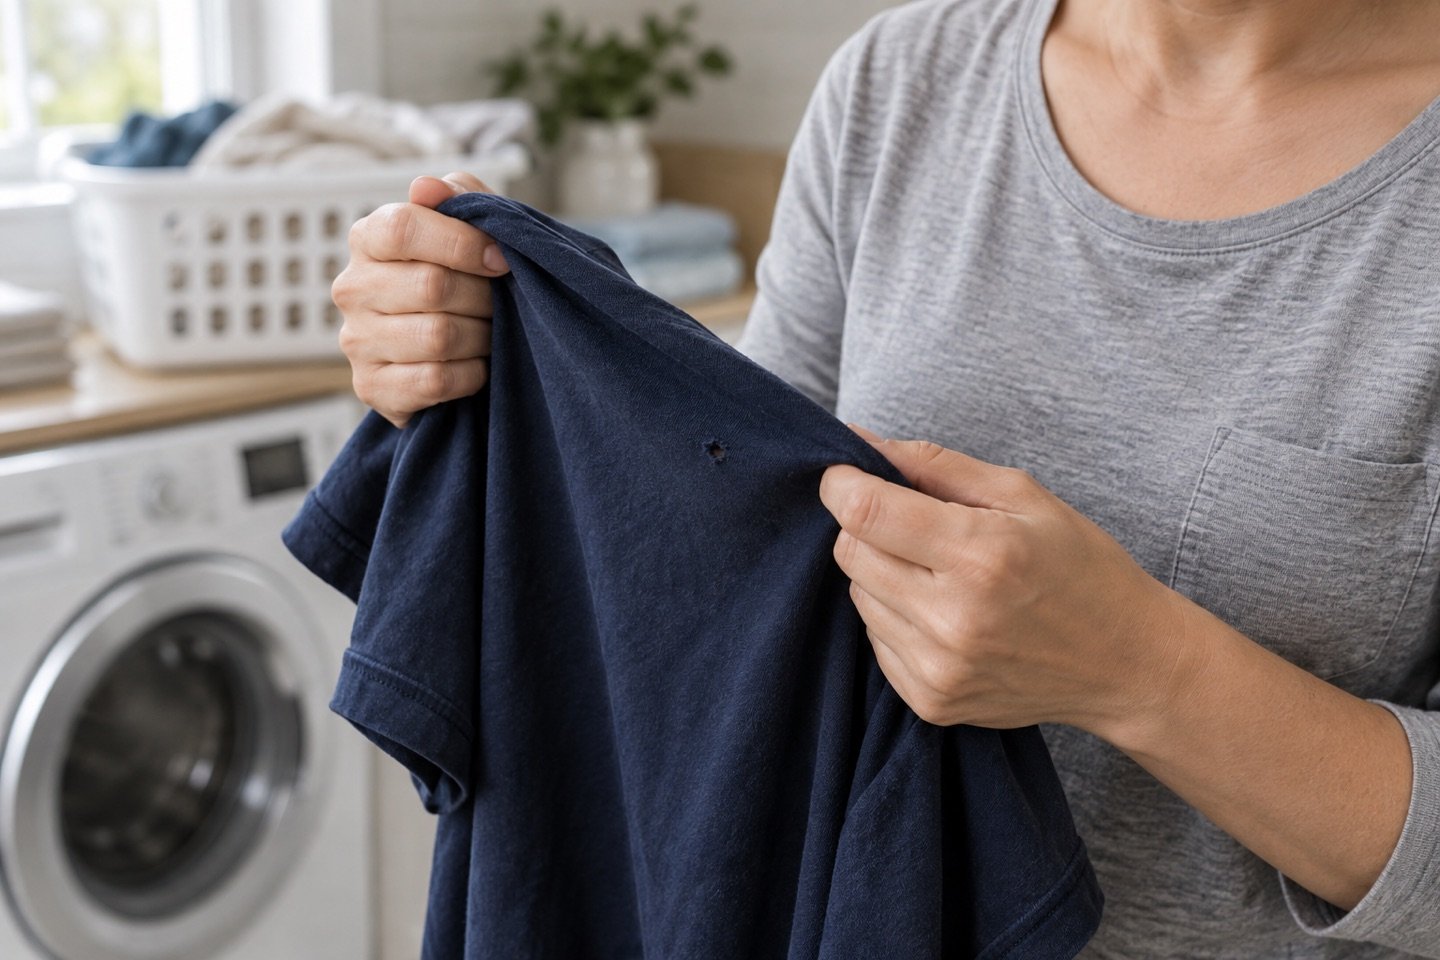
Quick Diagnosis: What Does the Damage Look Like?
Use the pattern as a clue.
One clean tear, pulled thread, or snag near a zipper, hook, buckle, or pocket area
Check the item, nearby garments, and pockets for a closure, metal accessory, or forgotten object that could have caught the fabric.
Small holes on several garments from one load
Look for a shared cause: an open zipper or hook, loose object, tightly packed load, or an item caught at the door or gasket.
Damage near a seam, waistband, edge, thin spot, or previously worn area
Compare with less-worn parts of the garment and check for old loose threads, stretching, abrasion, or a care-label mismatch.
Fabric looks thinned, discolored, brittle, or weakened around the hole
Review whether bleach, stain remover, or another laundry product contacted the item; appearance alone cannot identify the product or prove the cause.
What to Do Before Running Another Load
- Set the damaged item aside. Do not rewash it to test the cause. If damage has appeared more than once, keep one affected item as a record.
- Inspect the load, not just the damaged garment. Empty pockets and check nearby pieces for open zippers, hooks, buckles, sharp accessories, broken underwires, or loose straps. The snagging item may be a different garment.
- Look at accessible washer surfaces. With the washer off and empty, visually inspect the drum, door opening, and, on a front loader, the visible door gasket. Look for an obvious loose object, torn gasket, or visibly rough or broken area. Do not reach into gaps, probe for sharp edges, or remove panels.
- Note what was unique about this load. Record the garment types, cycle, tight packing, and any bleach or pretreatment. A repeat pattern is more useful than guesswork test loads.
- Stop rather than test a suspected machine fault. If you see a sharp, broken, or loose component, or unrelated clothes keep coming out damaged, do not run more affected loads. Contact the manufacturer or a qualified service provider.
When Zippers, Hooks, Buckles, or Pocket Objects Are the Likely Cause
A localized tear or snag is more consistent with catching than an overall wash-performance problem. LG identifies foreign objects, zippers, metal accessories, and long straps as potential sources of fabric damage; Whirlpool likewise advises emptying pockets and fastening zippers, snaps, and hooks before washing.
Check the damaged item and its load companions for open zippers, bra hooks, belt hardware, buckles, decorative metal, and pocket objects. An exposed hard edge gives you a specific change to test next time.
Fasten closures where the label permits, turn closure-heavy items inside out when appropriate, and secure long straps. Use a suitable mesh bag for hook-bearing or delicate items if its label allows it.
When the Fabric Was Already Weak Before Washing
Washing can make a small weakness visible without creating it. A hole along a worn seam, stretched waistband, thin spot, or old snag is more consistent with a garment-specific issue than damage suddenly affecting every item. Whirlpool recommends repairing rips and broken seam threads before washing so they do not worsen.
Compare the area with an inside seam, hem, or less-worn section. Check for an old snag, stretching, abrasion, or loose threads, and read the care label. If a newer garment is damaged after label-compatible care, keep the label and purchase details. Similar tears across unrelated garments call for washer checks.
When Bleach or a Laundry Product May Have Weakened the Fabric
Bleach or a stain-treatment product can be a relevant clue, especially when fabric around a hole looks changed rather than simply pulled or caught. Whirlpool says undiluted chlorine bleach can damage fabric and that the damage may appear as holes, tears, rips, or color loss, sometimes only after later washings. LG also lists chlorine-based bleach as a possible source of fabric damage.
Appearance alone cannot diagnose chemical damage. Check whether the item was treated before the load or a product contacted it directly, and whether its care label permits that product. Follow the garment and product instructions; do not add more product, use a stronger treatment, mix cleaners, or rewash repeatedly.
Home laundering will not restore already thinned or torn fabric. If several items weaken after the same product or routine, pause it and seek the product maker’s or garment maker’s guidance.
When Load Size or Fabric Mix May Contribute
Overloading does not prove why one garment tore. It can make catching or tangling more plausible when items are tightly packed, cannot move freely, or get trapped near a front-load door seal. LG warns that laundry stuck between the door and gasket can be damaged, while Whirlpool advises loading garments loosely.
For the next comparable load, avoid tight packing and keep very heavy or bulky items away from delicate pieces when practical. The useful test is whether a better-sorted load stops producing the pattern.
This is separate from spin or drain troubleshooting. If the machine has a performance symptom such as standing water or a failed spin, use the appropriate guide rather than treating holes as proof of that mechanical problem.
When to Check the Washer Itself
Check the washer after obvious garment and load causes, or sooner if unrelated garments are repeatedly damaged. With the machine off and empty, inspect clearly visible surfaces: the drum, baffles or fins, door opening, and visible part of a front-load gasket. Look for a loose object, caught fabric, torn gasket, or rough or broken component.
Do not run your hand around the drum, push into gaps, pull back a gasket, probe for snags, or disassemble the washer. If you see anything sharp, broken, or loose—or cannot safely identify it—stop using the washer for affected loads and arrange service.
How to Tell Whether the Washer Is Actually the Problem
The strongest clue is repetition across different garments after obvious load causes have been removed. A single hole in one lightweight or worn garment does not identify the washer. Concern rises when unrelated items are damaged in several loads, damage recurs in a similar location, or you can see an accessible trapping, torn, rough, or broken area.
Record the date, load contents, cycle, damage locations, visible washer condition, and any product used. Keep one damaged item; it gives a service technician useful evidence without asking you to identify an internal part.
For a washer that is not completing a cycle or leaves water behind, see Why Is My Washing Machine Not Spinning? or Why Is My Washing Machine Not Draining?. Those are separate mechanical-performance paths.
How to Reduce Holes and Snags on Future Loads
- Empty pockets before loading, and check for loose metal or sharp accessories.
- Zip zippers and fasten hooks or snaps when the garment label allows; protect delicate hook-bearing items in an appropriate mesh bag.
- Keep long straps, belts, and drawstrings secured so they are less likely to tangle.
- Follow each garment’s care label and avoid treating a delicate item like a sturdy load.
- Give the load room to move and separate especially rough, bulky, or closure-heavy items from delicate fabrics when practical.
- Load front-load washers carefully so fabric is not caught in the door opening or gasket.
- Use bleach and stain products only as the garment label and product instructions allow.
If the symptom is loose fibers rather than actual torn fabric, use Why Are My Clothes Covered in Lint After Washing?. If the issue is loss of color rather than a weakened or torn area, see Why Are My Clothes Fading After Washing?. For broader help, visit the Laundry troubleshooting hub.
Related Troubleshooting Guides
- Why Is My Washing Machine Not Spinning?
- Why Is My Washing Machine Not Draining?
- Why Are My Clothes Covered in Lint After Washing?
- Why Are My Clothes Fading After Washing?
Sources
- LG USA Support — Fabric Has Been Damaged (Torn, Hole) — foreign objects, closures, straps, door-gasket trapping, and chlorine-bleach caution.
- Whirlpool Product Help — Preventing Damaged Clothing in a Top Load HE Washer — loading, pocket and closure checks, existing garment damage, and chlorine-bleach damage guidance.
- Zanussi Support — Why Are There Holes in My Laundry After Washing? — official corroboration for closure, pocket-object, overloaded-load, fabric-trapping, and service-escalation considerations.